
No Knead Basic Sourdough
- megandmansfield8
- Nov 11, 2025
- 3 min read
I've been baking sourdough bread for around 8 years, and it never ceases to fascinate me! It's incredible how a handful of simple ingredients can create such a lovely loaf of bread. Sourdough bread is believed to have originated in Egypt, probably by chance, when water and flour were left out and fermented. It's often called "wild yeast" because the bacteria act as the leavening agent.
This recipe is ideal for beginners who are just starting to learn about sourdough.
Just a few notes before we get in to the recipe:
A reliable kitchen scale is essential if you're planning to make sourdough! You can find one at a fairly low price!
You can buy a starter, obtain one from a friend, or create your own.
I prefer using unbleached flour, water at room temperature, and my favorite salt is Redmond Real Salt, though any salt will work!
Some people believe sourdough bread is difficult to make. However, it's actually quite straightforward and can easily fit into your schedule!

Ingredients:
950 grams bread flour
200g mature starter
650g water
20g salt
Instructions:
Feed your sourdough starter about 4-8 hours before starting the bread to make sure it is active and bubbly.
Combine water and flour. Let it rest for 30 minutes for the flour to absorb all the water.
Add sourdough starter and salt. Mix with a dough hook or by hand for about 5 minutes. I like to get my hand wet to decrease the chance of the dough sticking to me. Cover with a towel or plastic wrap and let rest for another 30 minutes.
The next step involves stretching and folding the dough. This process contributes to creating that delightful crumb, characterized by the air pockets found in a classic sourdough loaf.
Stretch and fold the dough about 4 -6 times over the next 2 hours. This is done by lifting the dough on one side and folding it over itself. Rotate the bowl and repeat on all sides. This is 1 "stretch and fold".
Cover in between each stretch and fold to keep the dough from drying out.
After the stretch and folds are completed, turn the dough out on a slightly floured counter. Cut the dough in half with a bench scraper or knife, trying not to burst too many air bubbles.
Shape each half into a ball. Use a cupping motion with your hands and pull towards you across the counter a few times. This builds tension in the dough and helps the dough hold its shape and rise well in the oven.
Put each loaf upside down in a floured banneton basket. If you don't have a banneton basket, simply line a medium-sized bowl with a tea towel. I used this method for years before purchasing banneton baskets.
Let sit, covered, for 2-4 hours, then place in the refrigerator to proof overnight, about 12 hours.
In the morning you are ready to bake. Place a dutch oven with lid in 500 degree oven while it preheats at least for 30 minutes. You can also use a cast iron pan or cookie sheet.
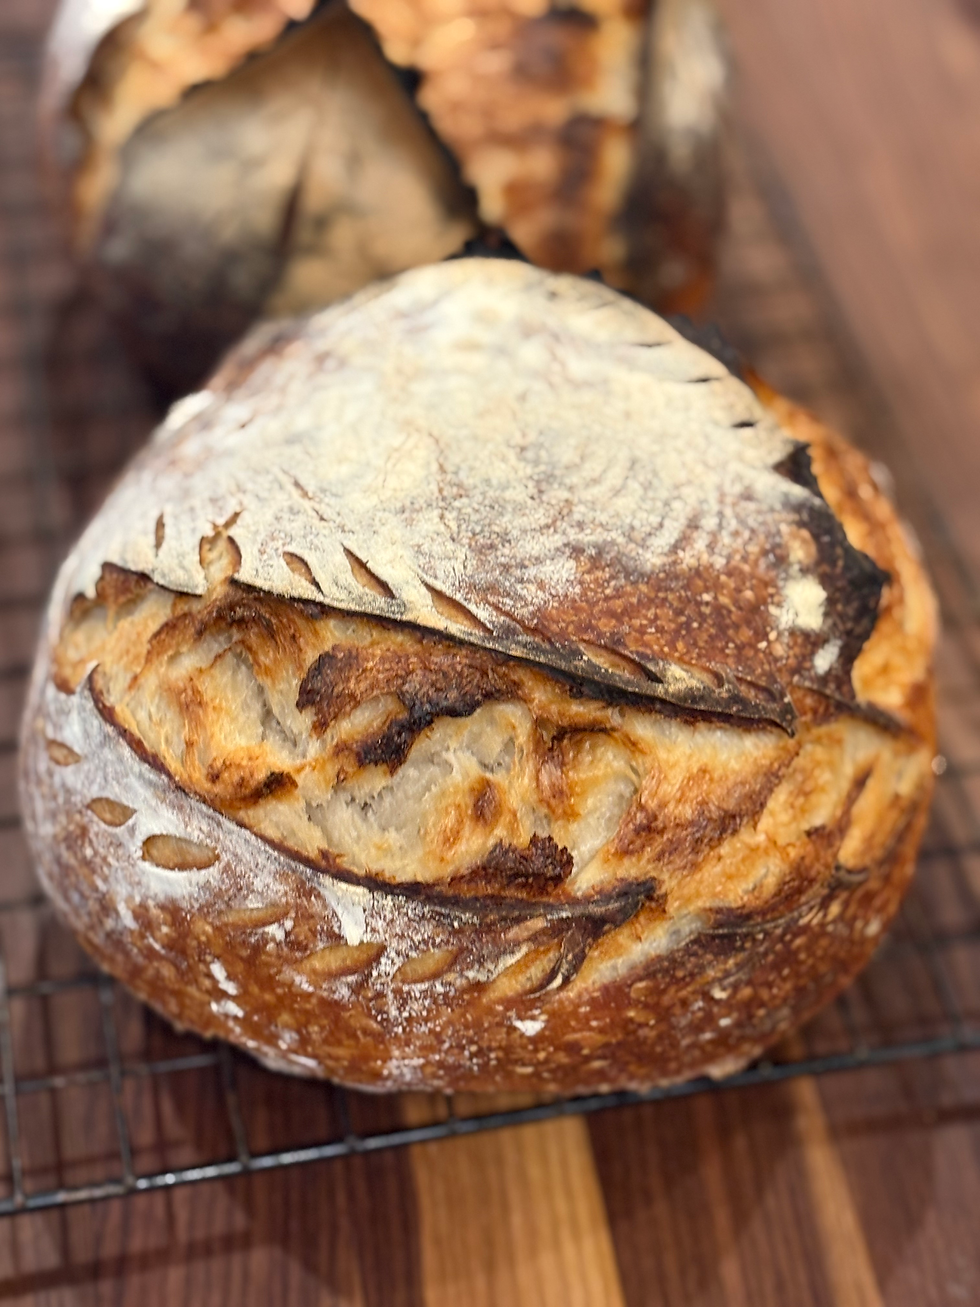
Remove your dough and place on a piece of parchment paper. Dust the top with flour (I like to use rice flour) and wipe away excess. Score top with a razor. You don't have to do anything fancy. A large score is necessary to let steam out, other small scores are just decorative. This is a chance to play around and get creative.
After scoring, place parchment and dough in dutch oven. Replace the lid and bake for 20 minutes at 500 degrees.
After 20 minutes, decrease oven to 475 degrees and remove lid. Bake an additional 20 minutes or until browned and when you tap, the bread sounds hollow.
Cool on a wire rack before cutting and enjoy!
I know this seems complicated but just try it! Just one step at a time on a weekend when you're planning to be home! You'll love it!


Comments